Growing Blog
How To Make A Mushroom Spore Print
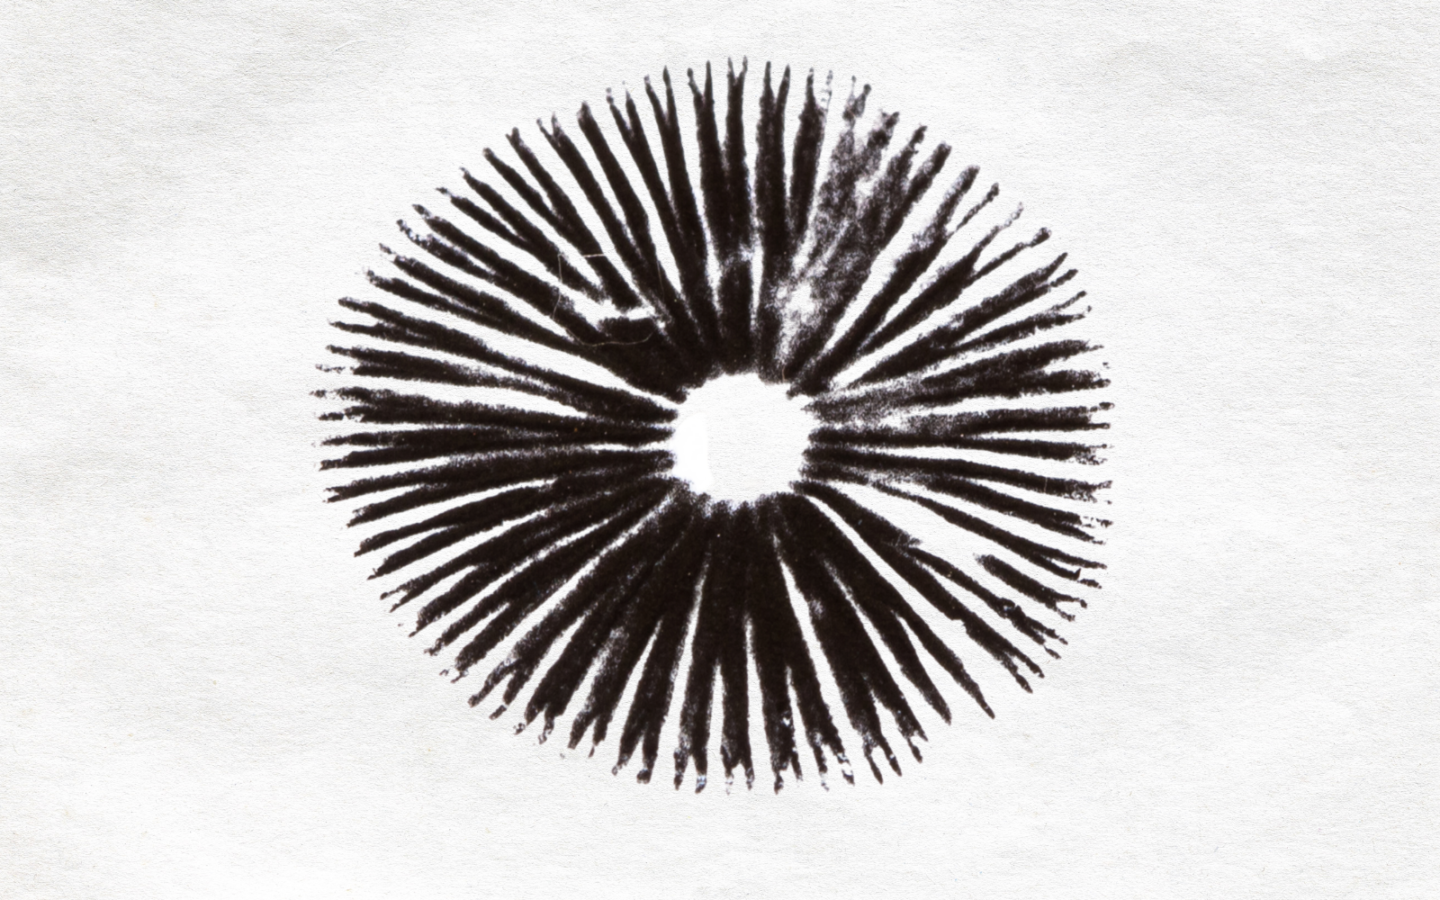
Learning how to make a mushroom spore print is an essential skill for any budding mycologist.
If you’re interested in foraging for wild mushrooms, spore printing can help identify exactly what mushroom you’ve found.
If instead, you’re interested in growing mushrooms from spores, you need to know how to properly collect and store the spores to complete the mushroom life cycle.
Either way, the spore printing process is basically the same.
What are Spores?
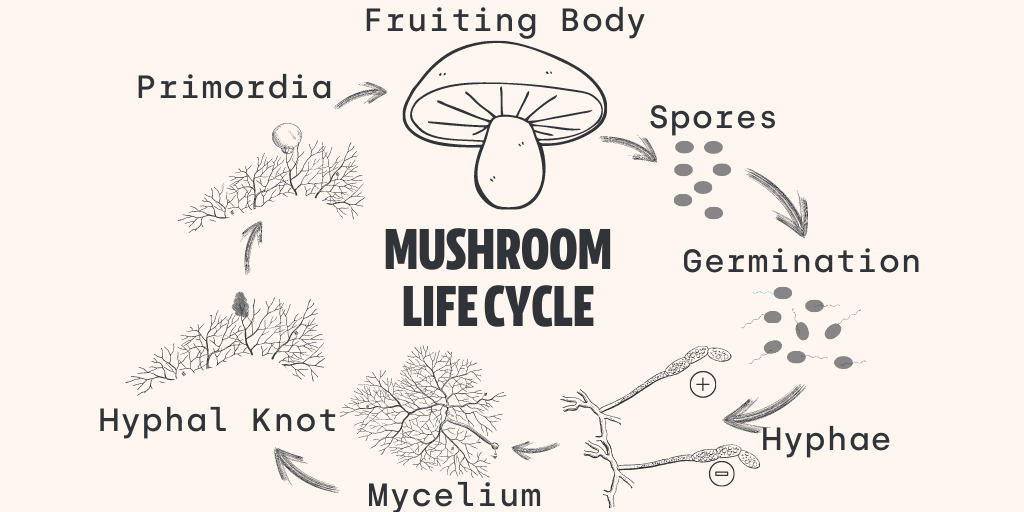
Although not technically accurate, mushroom spores can be thought of as “seeds”, with each spore containing exactly half of the genetic information required to produce an actual mushroom.
The spores are released into the environment from the gills (or pores) located under the cap of a mature mushroom. They then get carried away by air currents, and if they land in the right place, will eventually produce fine white strands of mycelium.
The mycelium will grow and eventually produce a new mushroom fruiting body, starting the cycle all over again.
Spores come in all different shapes, colors and sizes depending on the species- they really are amazing! And to think that a single mushroom can release billions of spores into the air.
That being said, the only factor visible to the human eye is the spore color, which is why taking a proper spore print is such an important characteristic for identifying mushrooms.
How To Make A Mushroom Spore Print
The process for making a spore print is pretty simple.
Basically, you just need to allow spores to fall from the cap of a mature mushroom and onto a piece of paper, tinfoil or glass.
This method below works well for both gilled mushrooms and mushrooms with pores.
What You’ll Need
1. A Mushroom Fruiting Body
2. Printer Paper (white or black), tinfoil, or glass
3. A drinking glass or a bowl to cover the mushroom cap
4. A Ziploc bag for storing
Step 1: Choose A Mushroom
Mushroom spores aren’t produced until near the end of the mushroom life cycle, so try and find a mushroom that is mature in age.
When young, many mushrooms will even have a “veil” covering the gills and protecting them as the mushroom develops. If you try and take a spore print of these young mushrooms, it’s very likely that no spores will fall.
Step 2: Remove The Cap
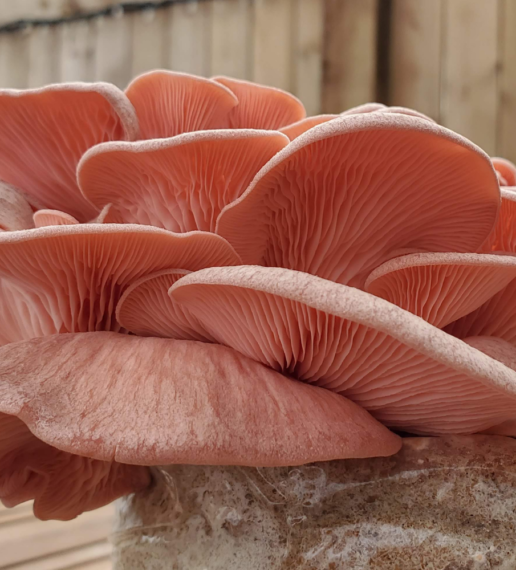
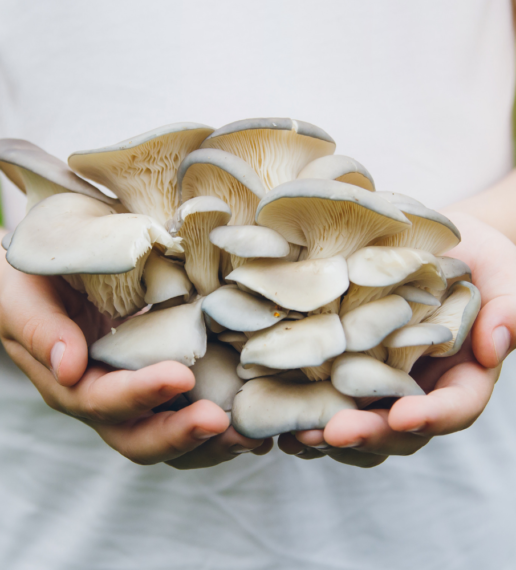
To make spore printing easier, carefully remove the cap of the mushroom from the stem at the highest possible point. Again, if you have a shelf mushroom or an oyster-type mushroom you might just be able to use the whole thing to make the print.
Step 3: Place The Cap Down
Lay the cap of the mushroom with the gills upside down onto a piece of paper. For the majority of specimens, a normal sheet of white paper works fine.
However, some mushrooms have white spores- so if you are taking prints for the purposes of identification, you might want to consider also getting some black paper.
If you’re planning on growing out the mushrooms from spores, it’s better to make the print on tinfoil. Not only is tinfoil more sterile (you can wipe it down with alcohol), it’s also better for making spore syringes and scraping spores on to agar plates.
Step 4 – Cover With Glass and Wait
You want the spores to fall directly down onto the paper from the mushroom cap. To do this, cover the cap with a glass or small bowl which will prevent air currents from carrying away your spores.
After 6-12 hours, remove the cap. You should have a fully formed mushroom spore print.
To store the prints, fold over some of the paper or tin foil and store them in a ziploc bag. Spore prints can be stored anywhere at room temperature, and can last decades.
There is no need whatsoever to refrigerate the spore print, even if you are planning to use the spores for cultivation later down the road.
Mushroom Spore Prints for Identification
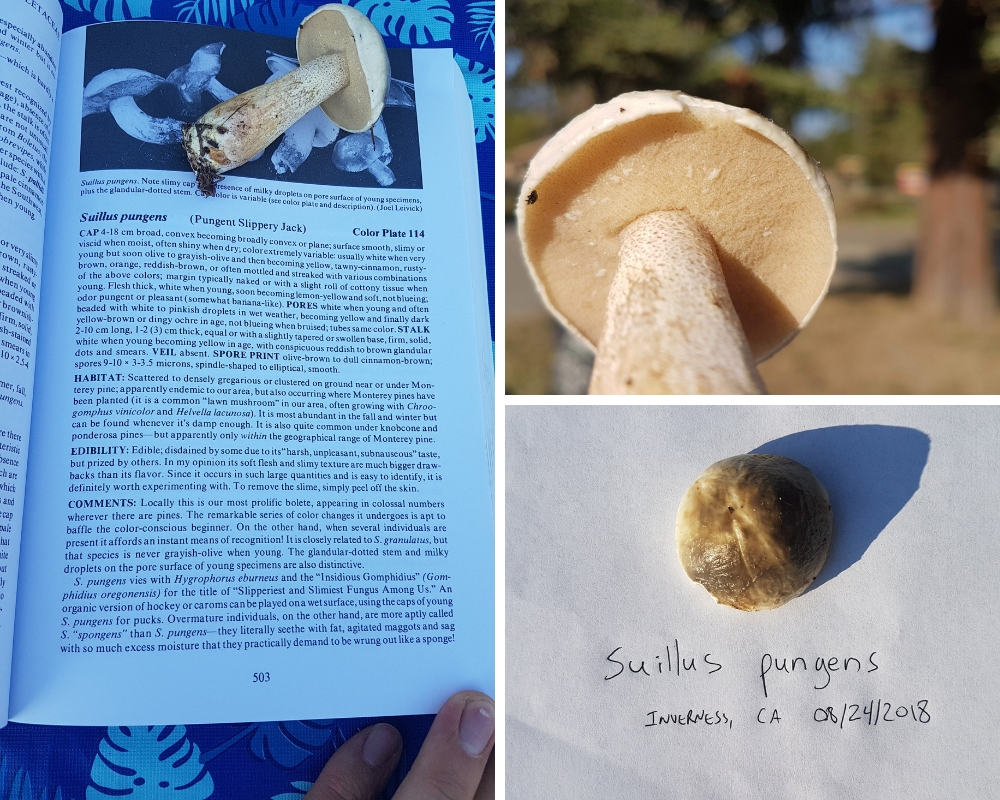
The color of a mushroom spore print can be a key identification factor for many species.
That being said, some discretion definitely needs to be used and spore color alone should never be used to identify a species for consumption.
Identification guides will often be quite vague in the description of spore color.
Sometimes it will be quite obvious, like white or purple- but how are you supposed to tell the difference between rusty-brown and orange-brown? White and cream?
Everybody sees and interprets colors a little differently, so be sure to have alternate ways of identifying species. Also, if you are taking a spore from a species and you have no idea what to expect, consider grabbing a few fruits and making multiple spore prints on different colors of paper.
Here are some examples of different mushrooms and their spore colors:
- Oyster Mushrooms – Typically White
- Button Mushrooms (Agaricus species) – Usually Brown
- Reishi – Brown
- Shaggy Mane (Coprinus) – Black
- Amanita Species (Death Cap, Fly Agaric) – Usually White
- Enoki (Flamulina Velutipes) – White
- Psilocybe Species – Dark Purple/Black
Other than color, most spore characteristics are not visible to the naked eye and need to be identified by looking at the spores under a microscope. This is usually done by making the spore print on a microscope slide. Spores can all sorts of shapes- oval, square, circular- as well as being vastly different sizes.
Since most people don’t have a spare microscope laying around, it’s generally not a great characteristic for casual identification.
Check the Color Of The Spores
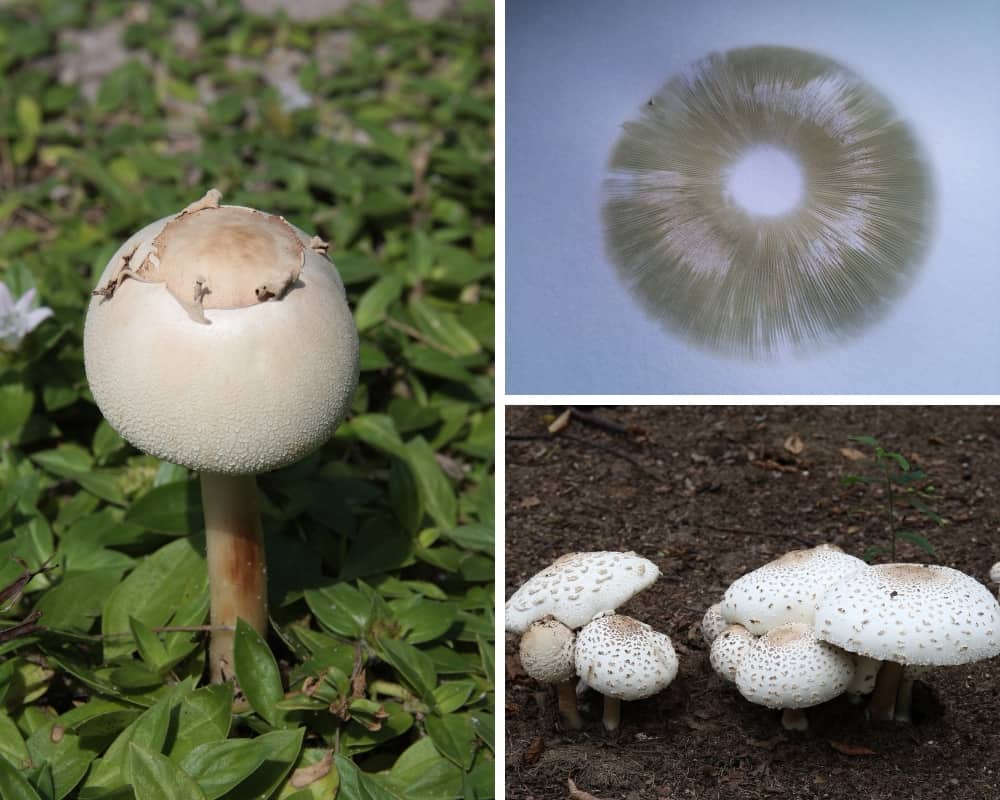
One of the most commonly consumed poisonous mushrooms in North America is known as Chlorophyllum molybdites– also known as the “green spored lepiota”.
If consumed, it will cause severe gastrointestinal stress. Basically, it won’t kill you- but you might wish you were dead, at least for about 24 hours.
This mushroom is sometimes confused with the Shaggy Parasol or the Shaggy Mane.
A main distinction, however, is that the poisonous Chlorophyllum molybdites have green spores. This just shows why it’s so important to check the spore color when trying to identify.
Spore Prints for Growing Mushrooms
You can also use spore prints to grow your own mushrooms at home.
A disclaimer though- growing mushrooms from spores is usually not the best way to go. Since technically a new strain is developed every time two separate spores meet to make mycelium, characteristics such as willingness to fruit, speed of colonization etc. are impossible to predict.
In general, you’re much better starting with a proven and commercially available strain.
Still, growing mushrooms from spores can be a fun exercise.
When taking a print for the purpose of cultivation, you should take a few extra steps to ensure that the area you are working with is clean. I like to perform the spore print inside of a clear tote that has been wiped down with alcohol. I also like to wipe down the top of the mushroom cap with isopropyl alcohol to minimize any bacteria or other contaminants.
Spore prints for cultivation should always be done on tin-foil. Not only is tin-foil more sterile (it can be cleaned with alcohol) it also makes it much easier to transfer the spores.
The standard method would involve scraping the spores off of the print and into nutrified agar media. Mycelium will develop, which can then be transferred into sterilized grain to make spawn.
Some people prefer to make a “spore syringe” which is done by mixing the spores with sterilized water and sucking them up with a syringe. Again, this works best if the spore print was made on tin foil. You can then sterilize the syringe with the water together, scrape the spores into a sterilized jar, inject the water, mix with the syringe, and then retract the spore solution back into the syringe for storage.
This solution can then be used to inoculate sterilized grain, or sometimes injected directly into the substrate. Again, keep in mind that these “multi-spore” syringes often have mixed results.
Making A Spore Slurry
Some species like Chanterelles, Boletes, and Morels have, for the most part, evaded all attempts at commercial cultivation.
If you want to enjoy them, you’ll have to find them growing in the wild.
But… there is a way to encourage the growth of these mushrooms by inoculating a suitable area with a “spore slurry”.
This is done by scraping the spores from a spore print into a bucket of fresh non-chlorinated water, and adding some sugar and a pinch of salt.
If you still have the actual fruiting body, you can just shred it and add it to the bucket as well.
The sugar serves as nutrition to encourage mycelium to grow, and the salt helps to minimize bacterial growth.
Once the spores are in, let this bucket sit for a day or two, and then pour outside in a suitable area.
Make sure you research the species that you’re trying to grow and ensure that you pour the slurry it in a suitable environment.
For example, some species like chanterelles are “mycorrhizal” meaning that they need to grow in symbiosis with other trees. Pouring the slurry on your lawn won’t yield any results.
More Fun With Spore Prints
Spore prints are beautiful to look at, so you can also use them to make art! Some people like to take spore prints on paper and then cover them with a lacquer or hair spray so that they can be preserved and displayed. You can add all sorts of interesting designs and get creative.
can you make your artcles in pdf so they can be printed?
Hey Bill! I can probably get everything in a PDF as an eBook- I hope to get a chance to work on that soon 🙂 Stay tuned.
Great explanation on what to use a spore print for. Also, I love the idea for a Spore Slurry for the mushrooms that aren’t able to be cultivated like the Morels and Chanterelles.
what would be the easiest species to grow from spore for a beginner?
Just got a new mushroom book.looking to become informed
I really enjoyed your explanation to to the mushroom environment.
I want to aske if the same procedure can be done to Paddy straw or volva mushrooms to get the spore print.
Go Tony Go!! Really great advice all around.